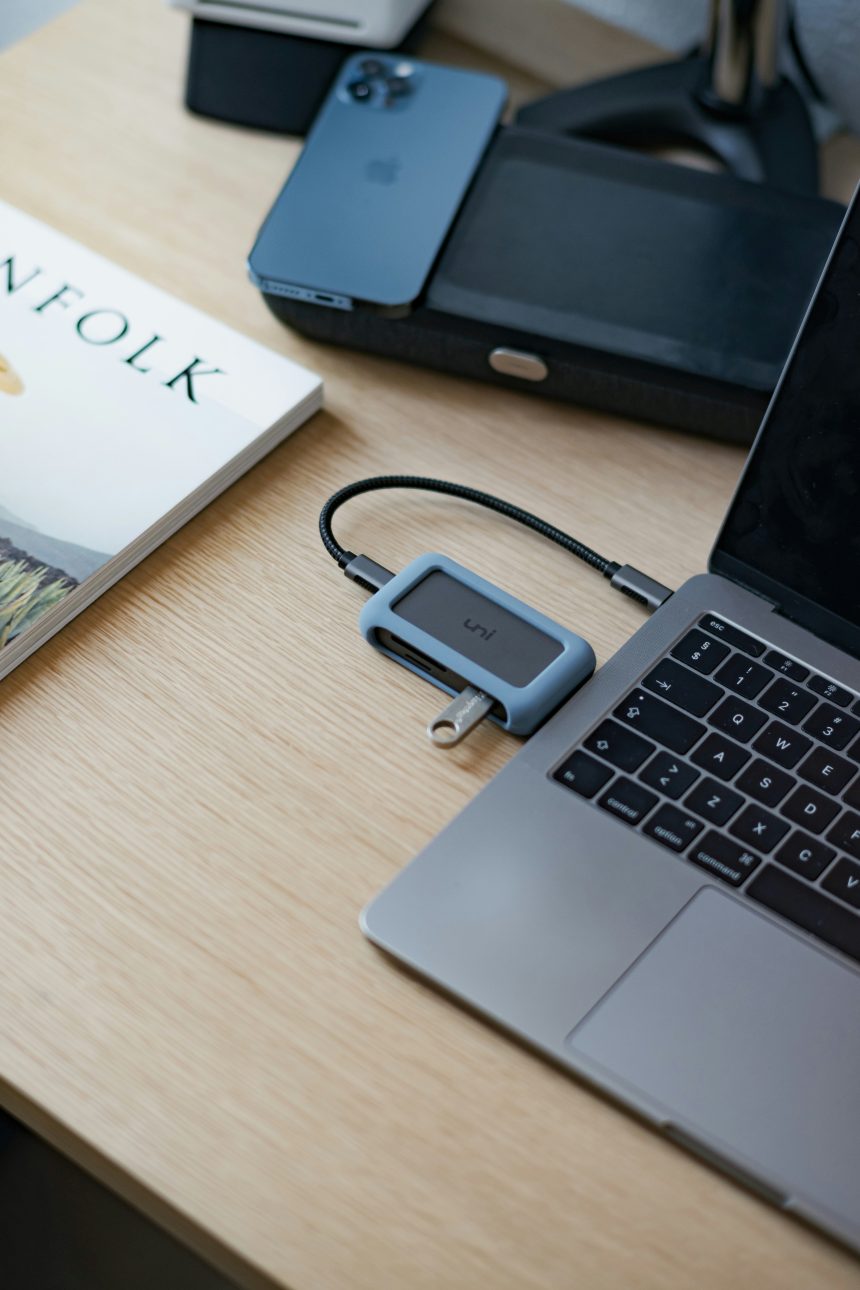
Rufus is a popular, free, and open-source utility used to create bootable USB drives from ISO files. It is widely used for installing operating systems, performing system repairs, and even running live USB environments. One of the essential features of Rufus is its ability to create bootable USB drives that are compatible with both UEFI and Legacy BIOS systems. If you’re looking to boot into Legacy Mode using Rufus, this article will guide you through the process step by step.

Understanding Legacy Mode
Before diving into the steps, it’s crucial to understand what Legacy Mode is. Legacy Mode, also known as BIOS Mode or CSM (Compatibility Support Module), is a traditional boot method that supports older BIOS firmware instead of the more modern UEFI (Unified Extensible Firmware Interface). Legacy Mode is necessary when you are working with older hardware or operating systems that do not support UEFI.
Step 1: Download and Install Rufus
First, you need to download and install Rufus on your computer:
1. Visit the official Rufus website at [https://rufus.ie](https://rufus.ie).
2. Download the latest version of Rufus. It’s a lightweight application, so the download should be quick.
3. Once downloaded, open the Rufus executable file. Rufus doesn’t require installation, so it will run directly from the file.
Step 2: Prepare Your USB Drive
You’ll need a USB drive with enough capacity to hold the operating system or tools you wish to boot. A minimum of 8 GB is recommended.
1. Insert your USB drive into one of the USB ports on your computer.
2. Rufus will automatically detect the USB drive. Ensure that the correct drive is selected in the “Device” drop-down menu.
Step 3: Select the ISO File
Now, you need to select the ISO file for the operating system or tool you wish to boot into Legacy Mode.
1. In Rufus, click on the “Select” button next to the “Boot selection” field.
2. Browse your computer and locate the ISO file you want to use.
3. Select the ISO file and click “Open.”
Step 4: Configure Rufus for Legacy Mode
To boot into Legacy Mode, you need to configure Rufus correctly:
1. Partition Scheme: Choose “MBR” (Master Boot Record) from the “Partition scheme” drop-down menu. MBR is the partition scheme used by Legacy BIOS.
2. Target System: Rufus will automatically set the “Target system” to “BIOS (or UEFI-CSM)” when you select MBR as the partition scheme. This setting ensures compatibility with Legacy BIOS systems.
3. File System: Set the file system to “FAT32” or “NTFS,” depending on your needs. FAT32 is recommended for most cases, as it is widely compatible with various systems.
4. Cluster Size: You can leave this setting as the default unless you have specific requirements.
Step 5: Start the Process
Once all the settings are configured:
1. Double-check that all the settings are correct.
2. Click the “Start” button to begin the process. Rufus will warn you that all data on the USB drive will be erased, so make sure to back up any important files.
3. Rufus will then format the USB drive, create the bootable media, and install the necessary files. This process may take several minutes, depending on the size of the ISO file and the speed of your USB drive.
Step 6: Boot from the USB Drive in Legacy Mode
Once Rufus has finished creating the bootable USB drive:
1. Restart your computer.
2. Enter your system’s BIOS or UEFI settings by pressing the appropriate key during startup (commonly F2, F12, ESC, or DEL).
3. Navigate to the boot menu and select your USB drive as the first boot device. Ensure that the boot mode is set to Legacy or CSM, not UEFI.
4. Save your settings and exit the BIOS/UEFI.
5. Your computer should now boot from the USB drive in Legacy Mode.
Booting into Legacy Mode using Rufus is a straightforward process if you follow these steps carefully. By configuring Rufus to use the MBR partition scheme and setting your system’s BIOS/UEFI to Legacy Mode, you can successfully boot older operating systems or tools on your machine. Remember to always double-check your settings before starting the process to avoid any potential issues.


