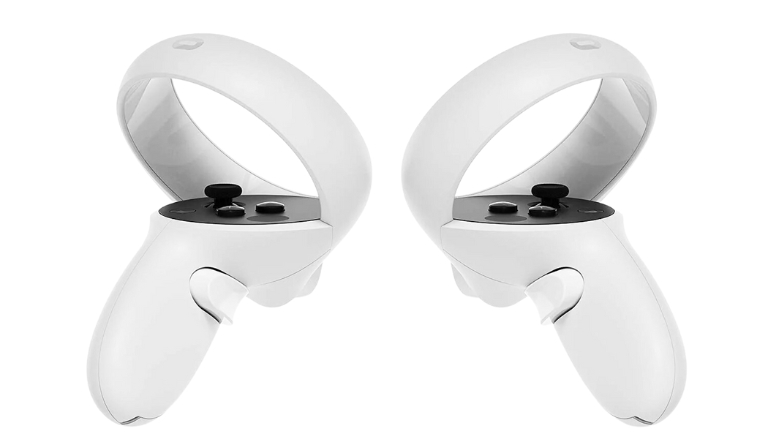
Are you a gamer who loves playing with your Oculus Quest 2 headset? If you are, then you know how important it is to have fully charged controllers for an amazing virtual reality experience.
The controllers of the Oculus Quest 2 use AA batteries, and it’s essential to know how to change them when they run low on power. Don’t worry, though! Changing the battery in your Oculus Quest 2 controller is a simple process that anyone can do.
In this guide, we will show you step-by-step instructions in easy-to-understand language, so you can continue your gaming adventures without any interruptions.
So, get ready to learn how to change the battery in your Oculus Quest 2 controller and keep the fun going!
How to Change the Battery in Your Oculus Quest 2 Controller
Here are some tips on how to change the battery in your Oculus Quest 2 controller. Check out the instructions below to see how to do it step-by-step.
1: Turn off your Oculus Quest 2 headset
Before you begin changing the batteries, make sure your Oculus Quest 2 headset is turned off. This will prevent any accidental inputs while you’re working on the controllers.
2: Remove the controller from your headset
Gently remove the controller from your Oculus Quest 2 headset. You should have two controllers—one for each hand. Take the controller that needs a battery replacement and set it aside.
3: Locate the battery compartment on the bottom of the controller
Turn the controller over and locate the battery compartment on the bottom side. You’ll see a small compartment with a cover that houses the batteries.
4: Use a small, flat object to slide the battery compartment cover open
To access the batteries, you’ll need to slide open the battery compartment cover. Use a small, flat object like a credit card or a thin piece of plastic to gently slide the cover in the direction indicated by any arrows or icons.
5: Remove the old battery from the controller
Once the battery compartment cover is open, you can remove the old battery from the controller. Take note of the battery’s orientation, ensuring you remember which side is positive (+) and which side is negative (-).
6: Insert the new battery into the controller
Take a fresh AA battery and insert it into the battery compartment, aligning the positive and negative terminals correctly. Double-check the orientation to avoid any issues.
7: Slide the battery compartment cover closed
After inserting the new battery, slide the battery compartment cover back into place until it clicks shut. Ensure that it’s securely closed to prevent the battery from accidentally falling out during use.
8: Turn on your Oculus Quest 2 headset
With the new battery in place, you’re ready to power on your Oculus Quest 2 headset. Turn it on and wait for it to boot up. Your newly replaced controller should now be ready for action.
Additional Tips for Changing the Battery in Your Oculus Quest 2 Controller:
- Use fresh, high-quality AA batteries: Opt for reliable brands of AA batteries to maximize the battery life of your Oculus Quest 2 controllers. This will ensure you can enjoy extended gaming sessions without worrying about running out of power.
- Store your controllers in a cool, dry place: When not in use, it’s advisable to store your controllers in a cool and dry location. Excessive heat and humidity can cause batteries to corrode or leak, potentially damaging your controllers.
- Check the battery level regularly: Make it a habit to check the battery level of your Oculus Quest 2 controllers. This way, you can stay ahead of low battery issues and swap them out in advance to avoid interruptions during your VR experiences.
Now that you know how to change the battery in your Oculus Quest 2 controller, you can keep your gaming sessions uninterrupted and enjoy the immersive world of virtual reality to its fullest.
Conclusion
Changing the battery in your Oculus Quest 2 controller is a straightforward process that can be completed in just a few simple steps. By following the guidelines outlined in this article, you’ll be able to replace the batteries efficiently, ensuring that your controllers are always powered up and ready for your virtual adventures.


